The Transformative Impact of Mobile apps on Healthcare Industry: A closer look!

The digital era has ushered in transformative changes across various industries, and the field of healthcare stands at the forefront of this evolution. Mobile apps, in particular, have emerged as indispensable tools, wielding the power to significantly enhance convenience, accessibility, and efficiency within healthcare services.
This technological metamorphosis, especially highlighted by the challenges posed by the COVID-19 pandemic, has proven to be a boon for the medical sector. Beyond doctors and patients, hospital staff and pharmacists also reap the rewards of this marvel, as mobile healthcare apps seamlessly facilitate a myriad of tasks, including online consultations, diagnostics, appointment scheduling, and the efficient delivery of essential medical supplies.
As we navigate this landscape where technology and healthcare converge, it becomes increasingly evident that these advancements are not merely conveniences but essential components revolutionizing the way we perceive and access healthcare services. Let’s take a look at some stats which showcase the remarkable impact mobile apps have on shaping the present and future of healthcare.
Statistics Showcase Mobile Apps’ Impact in Healthcare:
- The global healthcare apps market is projected to soar to an impressive $25.40 billion by 2028, according to forecasts.
- The mHealth apps market is set for substantial growth, with projections indicating an increase to $166.28 billion by 2028, propelled by a robust compound annual growth rate (CAGR) of 24.7%.
- Millennials (aged 27 to 42), constituting 22% of the US population, alongside tech-savvy Gen Z, emerge as a pivotal market for expanding telehospitals, a trend expected to persist in telemedicine for 2024 and beyond.
- The anticipated size of the global digital health market is projected to reach an impressive USD 809.2 billion by the year 2030.
- A January 2023 survey revealed that 40% of adults in the United States utilized at least one mobile health app, showcasing an increase from the 34% recorded in 2018.
These statistics unequivocally demonstrate the substantial role mobile apps play in the healthcare landscape. Let’s now delve deeper into how Mobile Apps are shaping and revolutionizing the healthcare industry.
How do patients benefit from the use of healthcare mobile apps?
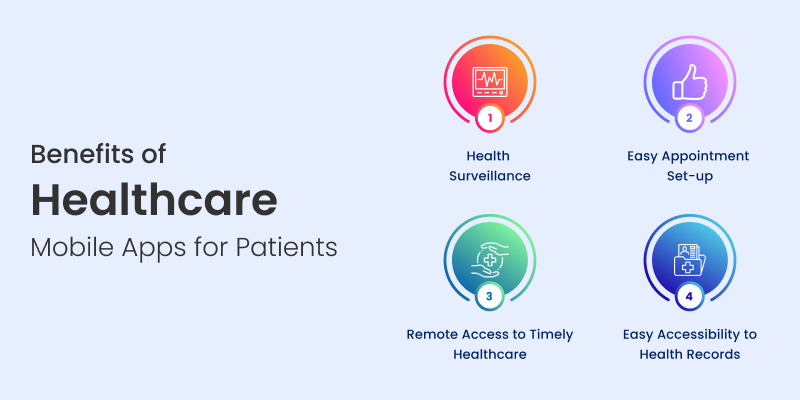
Healthcare apps have become integral in reshaping the patient’s experience, offering a range of benefits that enhance convenience, engagement, and overall well-being, thanks to innovative healthcare app development. These applications leverage technology to empower individuals in managing their health more effectively. Here are key advantages that healthcare apps bring to patients:
- Virtual Consultations for Enhanced Ease: Medical apps have redefined patient convenience, eliminating the need for extensive travel. Virtual doctor consultations can now occur seamlessly from the comfort of home, offering immediate and timely advice to prevent the worsening of health issues.
- Ongoing Health Surveillance: Given that over half of the US population contends with at least one chronic condition, continuous monitoring is paramount. Mobile apps facilitate coordinated care by allowing healthcare providers to monitor patients’ daily vitals, aiding in the effective management of chronic conditions.
- Healthcare Access Beyond Boundaries: For individuals residing in remote locations with limited access to hospitals, healthcare mobile apps prove invaluable. These apps enable timely virtual consultations and health monitoring, ensuring healthcare is accessible to all, regardless of their geographical location.
- Effortless Appointment Coordination: The once cumbersome task of calling clinics for appointments has been streamlined with medical apps. Patients can effortlessly view doctor availability, OPD timings, and book appointments at their convenience, eliminating the frustration of long waiting times and enhancing the overall patient experience.
- Digitized Health Record Mastery: The challenge of managing physical medical records is replaced by the efficiency of healthcare mobile apps. Digital Electronic Health Record (EHR) solutions empower patients with control over their health data, allowing for easy management and sharing capabilities with healthcare providers. This secure digital storage ensures improved accessibility, with automatic updates reflecting recent reports and diagnoses.
In what ways does app development for the healthcare industry support doctors and medical professionals?
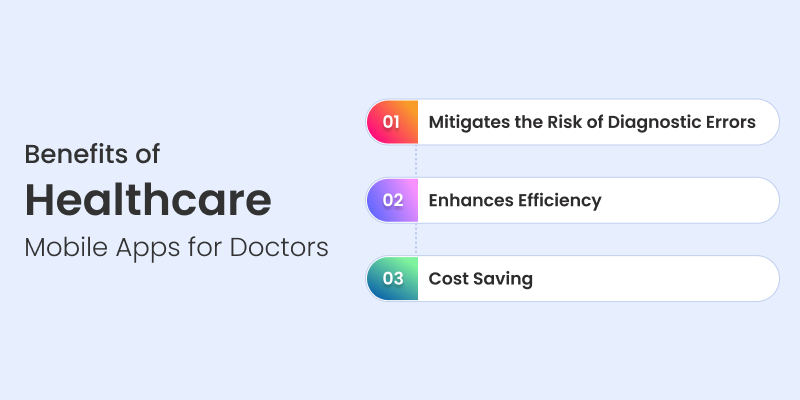
Mobile app development in the healthcare industry has undoubtedly revolutionized the way medical professionals operate, offering a comprehensive solution to various aspects of healthcare management. From emergency response and health surveillance to maintaining health records and facilitating direct touch-points with patients, mobile apps have become indispensable tools. Here are the myriad ways in which healthcare app development continues to reshape and enhance the medical landscape.
- Efficient Patient Management: Healthcare mobile apps provide a centralized platform for medical professionals to manage patient records, treatment plans, and progress updates. This streamlines patient care, allowing for more efficient and organized management of medical information.
- Enhanced Communication: Mobile apps facilitate seamless communication among healthcare professionals, enabling quick and secure information exchange. This fosters collaboration among team members, ensuring that everyone is well-informed and can coordinate care effectively.
- Remote Consultations: Telemedicine features in healthcare apps empower medical professionals to conduct remote consultations with patients. This is particularly beneficial for follow-up appointments, routine check-ins, and addressing non-emergency concerns, saving time for both doctors and patients.
- Real-time Access to Patient Data: Healthcare apps provide real-time access to patient data, allowing medical professionals to stay updated on vital information, test results, and treatment plans. This ensures that decisions can be made promptly, leading to more effective and personalized patient care.
- Streamlined Appointment Scheduling: Appointment scheduling becomes more efficient with mobile apps, allowing medical professionals to manage their calendars, view availability, and streamline the booking process. This results in optimized appointment schedules and reduced waiting times for patients.
- Secure Communication with Patients: Healthcare apps often include secure messaging features, enabling medical professionals to communicate with patients confidentially. This ensures privacy while providing a convenient channel for patients to seek guidance or clarification on their health concerns.
- Medication Management: Healthcare apps assist medical professionals in managing and prescribing medications more effectively. They can access up-to-date information on medications, potential interactions, and patient adherence, leading to improved medication management.
- Enhanced Diagnostic Support: Some healthcare apps provide diagnostic support tools, aiding medical professionals in interpreting test results, images, or clinical data. This contributes to more accurate diagnoses and informed decision-making.
- Continuous Professional Development: Healthcare apps often offer educational modules, webinars, and resources for continuous professional development. This helps medical professionals stay current with industry trends, best practices, and advancements in medical technology.
What varieties of mobile apps cater to healthcare needs?
The healthcare app landscape is continually expanding, with new applications emerging regularly to address diverse needs. These applications can be broadly classified into three main categories: those designed for patients, healthcare institutions, and professionals within the medical field. Exploring the spectrum of healthcare apps reveals a multitude of functionalities, including:
- Digital Medical References: Comprehensive drug information, medical dictionaries, and terminology; symptom checkers and self-diagnosis tools.
- Telehealth Solutions: Remote consultations for specialty care, virtual second opinions, remote monitoring for chronic conditions.
- Wellness and Fitness Tracking: Physical activity monitoring, dietary management and nutrition tracking, stress management, and relaxation techniques.
- Medication Organization Tools: Dosage reminders and alerts, medication interaction checkers, prescription refill, and delivery services.
- Chronic Condition Management: Diabetes care and monitoring, hypertension management, asthma control, and inhaler tracking.
- Women’s Health Support: Fertility tracking and ovulation prediction, menstrual cycle monitoring, pregnancy planning, and postpartum care.
- Mental Well-being Apps: Mindfulness and meditation guides, cognitive-behavioral therapy (CBT) tools, addiction recovery support.
- Personal Health Records Management: Electronic Health Record (EHR) integration, allergy and immunization tracking, emergency medical information, and contacts.
- Diagnostic Tools and Self-Assessment Apps: Symptom checker for common ailments, health risk assessments, home health monitoring devices integration.
- Patient Education and Health Literacy Apps: Disease-specific educational resources, wellness tips, and preventive healthcare information; language-accessible health education.
As the healthcare app ecosystem evolves, these categories and functionalities, along with additional subheadings, continue to diversify, providing a wide range of solutions to meet the ever-changing needs of users in the healthcare domain.
Are You Interested in Building a Top-Class Website or Mobile App?
Concluding Thoughts:
In conclusion, the spectrum of benefits highlighted encapsulates the transformative potential of mobile apps in healthcare, extending beyond enhanced patient engagement and medication adherence. As these applications, along with the expertise of app development companies, continue to streamline administrative tasks and simplify payment processes, they pave the way for a healthcare landscape poised for futuristic evolution.
The integration of cutting-edge features signifies a pivotal shift toward an adaptive, patient-centric, and efficient healthcare ecosystem. This transformative journey promises a healthcare experience that not only seamlessly meets present needs but also anticipates and addresses the dynamic demands of the future. Embracing the collaborative synergy between technology and healthcare, this trajectory marks the beginning of a healthcare era characterized by unparalleled responsiveness, personalization, and a forward-looking approach to healthcare delivery.