Why Mobile Apps Should Prioritize User Experience: A React Native Approach
Today, mobile apps are an integral part of our daily activities. Nevertheless, some apps achieve immense success, while others struggle to gain traction and fade into obscurity. The answer lies in a simple truth: with millions of apps available in the App Store and Google Play, an app must truly stand out to capture users’ attention and gain widespread adoption. And a key aspect that makes an app popular is the kind of User Experience (UX) it delivers.
In an era where users expect polished and effortless experiences, prioritizing UX isn’t just an option—it’s a necessity. And the React Native development approach has become the buzzword for creating such user-friendly apps. Let’s explore why mobile apps should prioritize UX and how React Native can help developers achieve that goal.
Why UX matters in Mobile Apps?

- First Impressions Are Everything: Studies show that users form an opinion about your app within the first few seconds of use. A clean, seamless interface can attract users, while clunky designs or slow response times will likely result in uninstalls.
- Retention and Loyalty: A positive user experience ensures that users keep coming back. With so many apps vying for attention, offering an enjoyable, efficient experience keeps users engaged and builds loyalty.
- Boost in Revenue and Growth: Happy users are more likely to recommend your app, leave positive reviews, and contribute to organic growth. An app that prioritizes UX tends to see higher download rates and better monetization opportunities, such as in-app purchases or subscriptions.
- Reduced Support Needs: Apps that are easy to navigate reduce the need for customer support and troubleshooting, improving overall operational efficiency and lowering costs.
How can React Native change the Game?
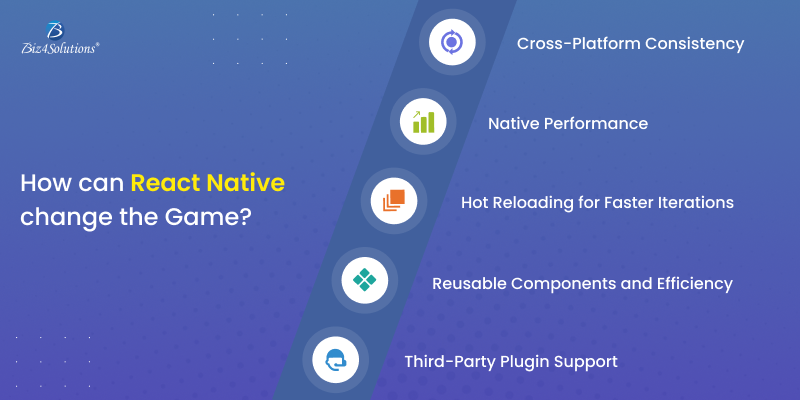
a. Cross-Platform Consistency
One of the major benefits of React Native is its ability to deliver a consistent user experience across both iOS and Android. With a shared codebase, developers can create apps that work seamlessly across platforms, ensuring that users, no matter their device, have the same smooth experience.
This consistency in UX is vital. Users don’t want to feel like they are using two completely different apps when switching from Android to iOS or vice versa. React Native ensures uniformity, which enhances overall brand perception and trust.
b. Native Performance
React Native bridges the gap between web-based applications and native mobile apps, offering near-native performance. It uses native modules and components that allow apps to run smoothly, without the sluggishness that other cross-platform tools sometimes face. This means that users get faster load times, smoother animations, and a more responsive app—key factors in a positive user experience.
c. Hot Reloading for Faster Iterations
React Native’s hot reloading feature enables developers to see changes in real-time without restarting the app. This accelerates the development process, allowing for quicker iteration on UI and UX features. In turn, developers can continuously tweak and optimize the user experience without delays, making it easier to implement feedback and fine-tune the app’s design.
d. Reusable Components and Efficiency
React Native allows for reusable components, meaning that the same code can be deployed across multiple platforms. This not only speeds up development but also ensures uniformity in the app’s UI. The consistency of visual components directly impacts user experience by reducing confusion and creating a cohesive feel for users across different devices.
e. Third-Party Plugin Support
React Native has a robust ecosystem that supports a wide variety of third-party plugins, allowing developers to integrate additional features seamlessly. Whether it’s implementing complex animations, gesture handling, or integrating with social media, React Native makes it easier to expand functionality without compromising on UX.
Best UX Practices with React Native

a. Focus on Intuitive Navigation
An intuitive, easy-to-use navigation system is one of the most critical aspects of a good user experience. Use React Native’s libraries like react-navigation to create fluid navigation that adapts to user behaviors. Keep navigation simple, with clear pathways that don’t overwhelm the user.
b. Optimized Performance
Ensure that your React Native app is optimized for speed. This includes using asynchronous data fetching, minimizing bundle sizes, and optimizing animations. Fast load times and responsiveness are crucial components of a great UX, and React Native’s ability to create high-performing apps helps in this area.
c. Personalized Experiences
React Native makes it easy to integrate AI and machine learning algorithms that can offer personalized content, such as recommendations or tailored notifications. Personalization is key to improving UX, as it helps users feel more connected to the app and increases engagement.
d. Accessible Design
A good user experience is inclusive. Use React Native’s accessibility APIs to ensure that your app caters to users with disabilities. This includes implementing voice commands, screen readers, and making sure the UI is navigable via keyboard and touch gestures.
Real-World Success Stories
Several popular apps have adopted React Native for its UX benefits, including Facebook, Instagram, and Airbnb. These companies have recognized the value of cross-platform consistency, high performance, and efficient development cycles—all contributing to superior user experiences. For example, Instagram implemented parts of its app using React Native and saw improvements in both user engagement and developer efficiency. React Native allowed them to roll out features faster while maintaining a uniform experience across both platforms.
Key Takeaways
In an age where user expectations are higher than ever, mobile apps must prioritize user experience to succeed. Combining the power of React with mobile app development, React Native offers a unique edge in optimizing UX across platforms. So, if you’re looking to build a mobile app that puts UX first, React Native is a compelling approach that enables you to stay competitive in today’s fast-paced market while delivering the intuitive, engaging experience that users expect.